The Web Menu Template theme tool in Ten Kites allows customers to have greater control over how their content is presented on standard web templates. This feature allows you to add your own colours/fonts/branding to our standard templates.
In this guide we will cover:
- Accessing Web Menu Template Themes
- Creating/Editing Template Themes
- Applying a Web Menu Template Theme
Accessing Web Menu Template Themes
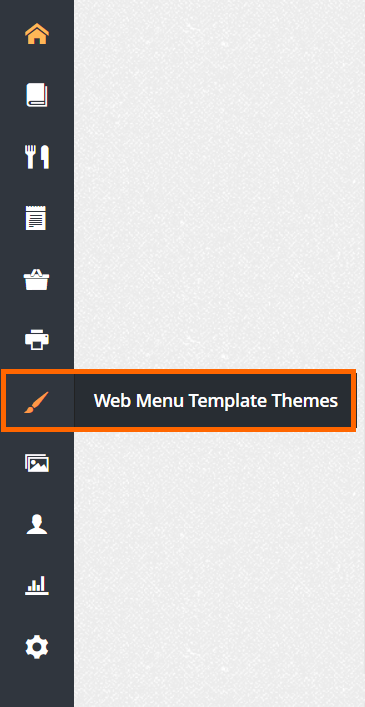
To access the theming tool, navigate to the ‘admin panel’ and click on the paintbrush icon and open ‘Web Menu Template Themes’:
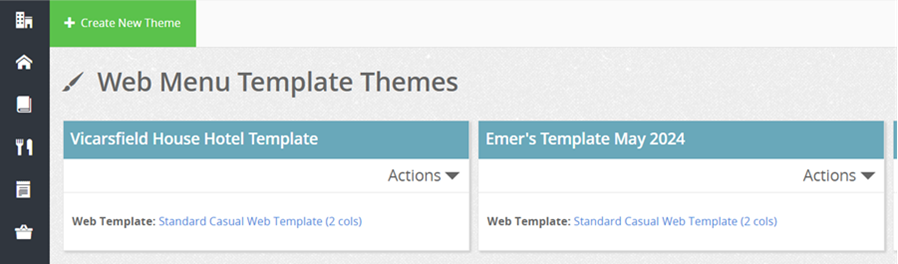
You will then be able to view all templates currently available. From this page you can create and edit new and existing Web Menu Template Themes.
Creating a Web Menu Template Theme
- To create a Web Menu Template Theme, click on ‘+Create New Theme’
- Click ‘Select’ on the template that you would like to create the theme for.
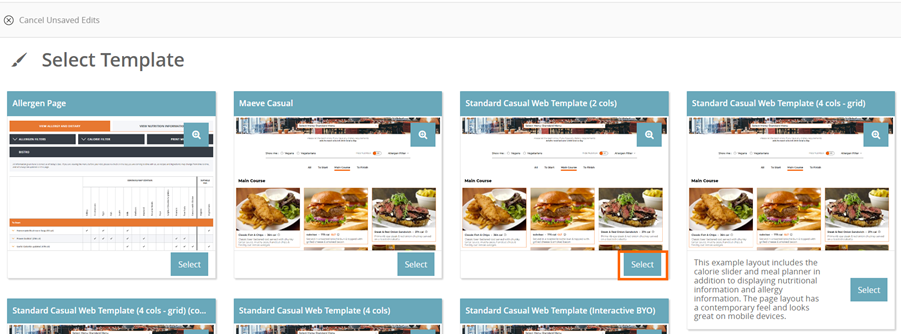
This will then open the Theming Tool.
Themes can only be applied to standard templates in Ten Kites , the selected template must also be assigned to a unit and have a menu published to it. If you need to check this, you can do so by following the following steps:
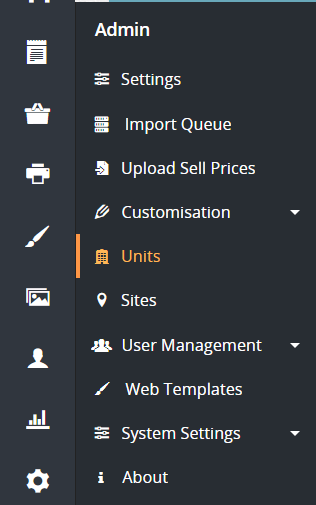
3. Open the Admin panel and click on ‘Units’

4. Select a Unit with Published Menus
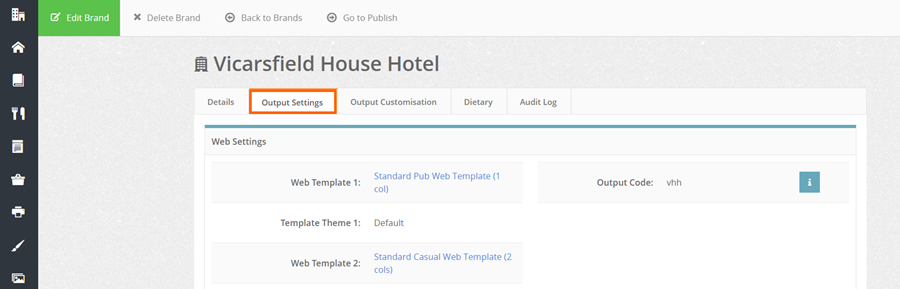
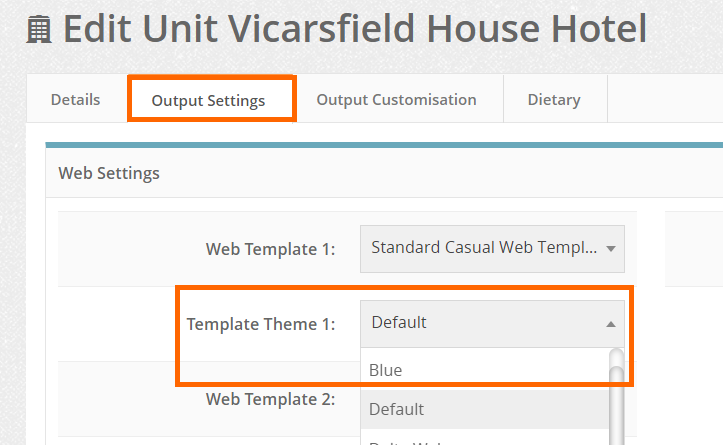
5. Navigate to the ‘Output Settings’ tab under the Unit Settings to check what templates have been assigned to the unit, under the Web Settings section.
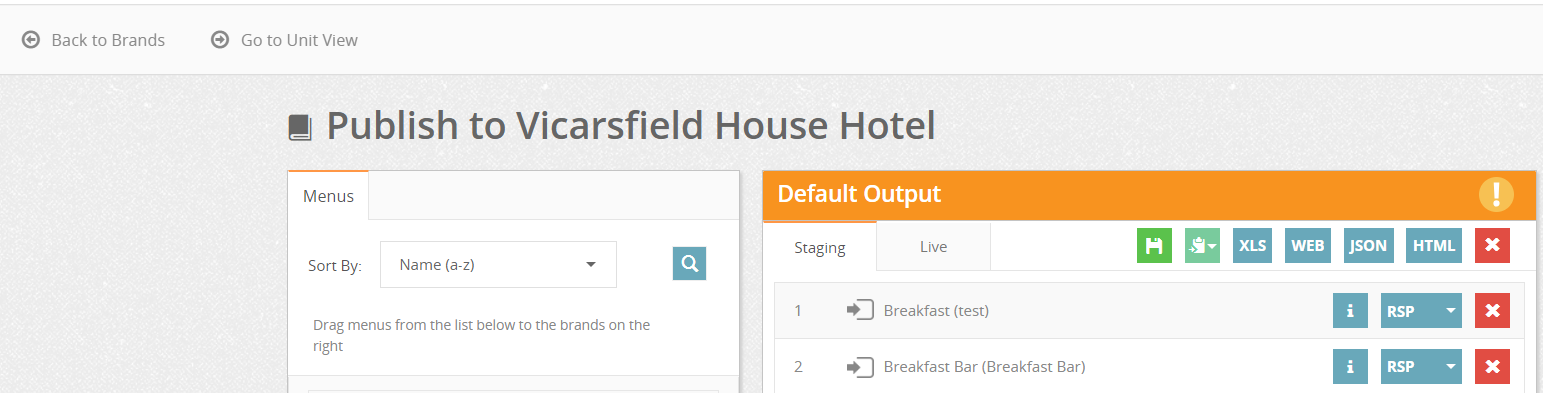
6. Click on ‘Go to Publish’ to check which menus have been published using the respective templates.
Editing an Existing Template Theme
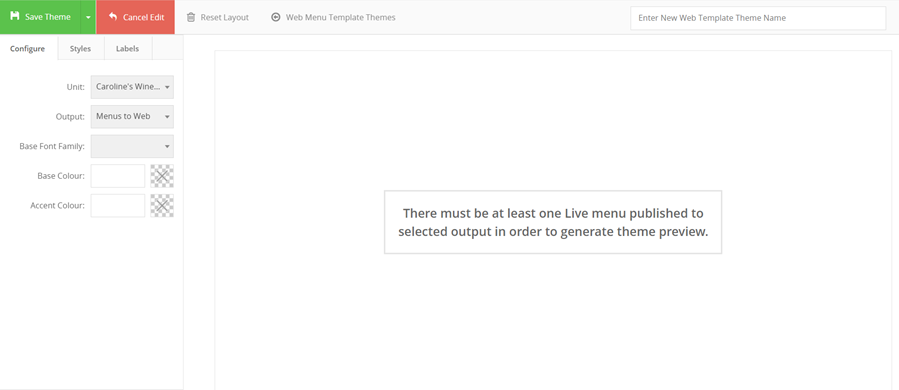
Once you open a web menu template theme, the theming tool will display a menu where the selected template is currently in use and what it looks like. This allows you to preview any changes they make in real time:

In the top bar on the page, you can save/cancel edits, reset the layout, go back to the web menu template themes or unit templates.
If any changes are made to the template, these changes must be saved. There are 2 options under the Save Button
- ‘Save and Continue Editing’
- ‘Save & Return to Web Menu Template Themes’
‘Cancel Edit’ – Cancels any changes that have been made to the template.
‘Reset to Default’ – Resets any changes that have been made.
‘Web Menu Template Themes’ – Brings you back to the themes page
In order to edit/save a theme, you will need to input a name for the theme in the top right corner, this is a mandatory field.

On the Left Hand Side of the screen there are 3 tabs – Configure, Styles, and Labels.
3. Configure
This tab allows for global styles to be added to a template.
You can also see the units that currently use this template, and the different outputs within that unit that have the template applied. This feature allows you to toggle between units and outputs.
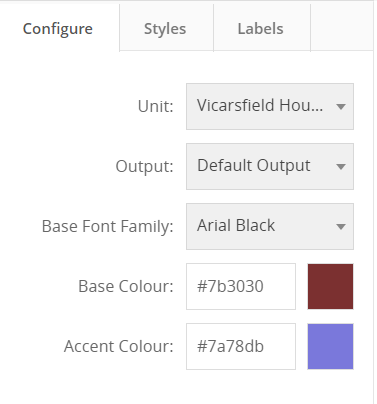
From this tab you can select the:
- Base Font Family – this allows you to add a font to all parts of the template
- Base Colour – you can select the base colour for the template using the colour palette or select from presets or type in the hex code, then click choose
- Accent Colour – this colour is used for borders etc in the template
4. Styles
This tab allows you to configure the following parts of your template separately.
The full range of configurable items within the template can be viewed in the panel on the left.
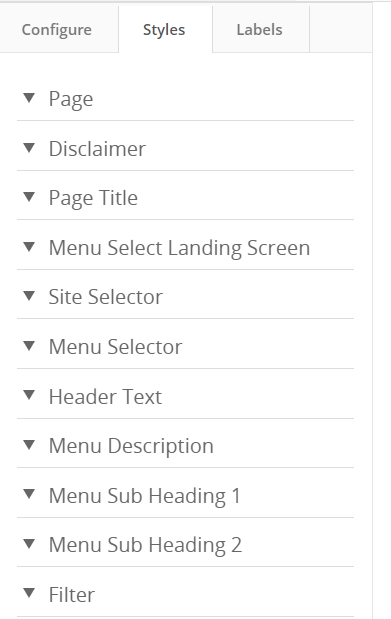
Settings such as colours, fonts, padding, spacing can be configured from this tab.
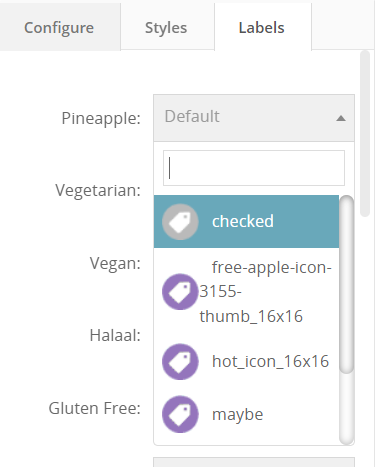
5. Labels
The labels tab allows you to configure the labels for all dietary and preference labels. All dietary and preferences labels have the default labels set against them. If you want to change the icons you can do this via Customisation > Dietary labels > Manage Icons > Upload Icons. The uploaded icons will then become available via the drop down menu:
Once you’re happy with the Template Theme make sure to save it. When you’re finishing editing a template, this does not make the theme live. You must apply the theme first.
Applying a Web Menu Template to a Menu
To apply a web menu template:
- Go to Settings and click on Units.
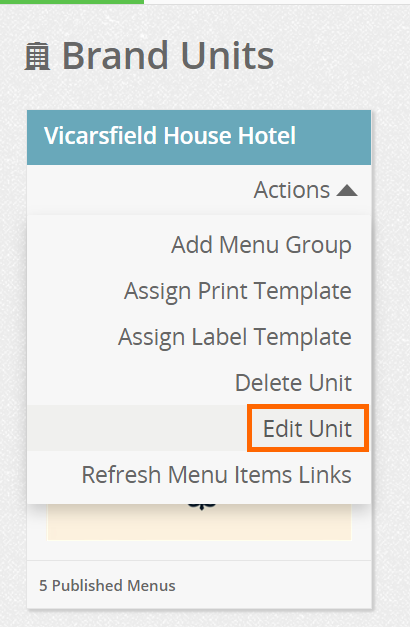
- Select the unit that you want to apply the Web Menu Template Theme to and select ‘Edit Unit’.
- Go to the ‘Output Settings’ tab and select the desired Web Menu Template Theme from the dropdown.
- Click on ‘Save Brand’. When you reopen the menu the new theme will be applied.
