Use templates to allow site users to add a set number and/or type of menu items to existing menus.
NB: Menu templates differ from web templates (the design and style of your menus as they are displayed in your outputs).
- Login to Ten Kites via www.manage.tenkites.com
- Enter your login credentials and click Log In
3. There are 4 menu types to choose from: –
- Standard: User can add as many sections, menu items (up to a max of 250) and Build Your Own (BYO) sections as desired
- Template (fixed content): User can ‘lock’ the content of the menu or allow a degree of flexibility, for example to adhere to brand standards
- Template (flexible content): Used in conjunction with the Ten Kites ‘Print’ module to support pre-defined print layouts
- Template (fixed with variable sections): Combines the functionality of fixed and flexible template types
This document will explain how to create each of the 3 menu template types. For standard menus, please see our document ‘How to Create and Manage Menus’.
Creating A Fixed Content Menu Template
- From the home page navigation bar on the left side of your screen, select the ‘Menu’ icon.
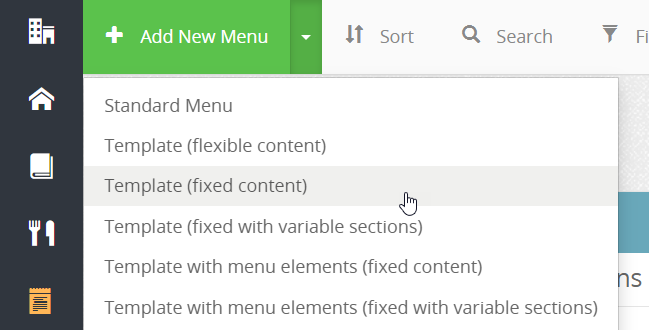
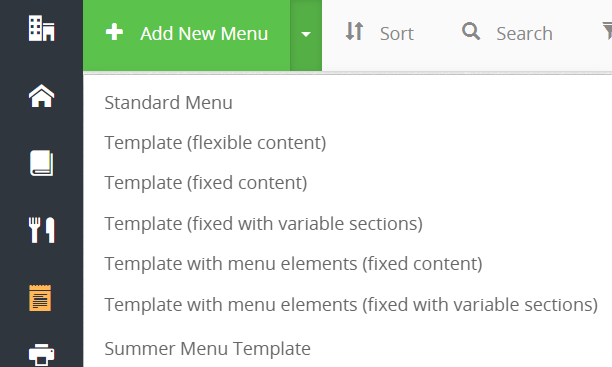
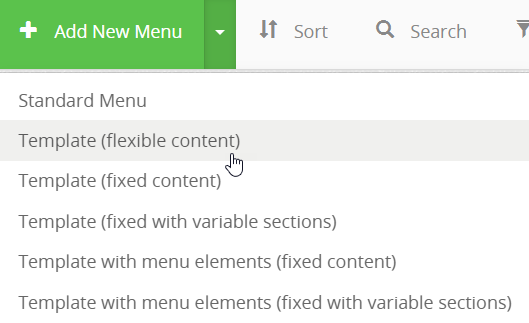
- Click to ‘Add New Menu’ in the top bar and select ‘Template (fixed content)’:
- Input a name for the new template. This name will be passed on when a site level user uses your menu template to create their own site-specific standard menu. We recommend using ‘Template’ in the name to differentiate from other menus:

- Input additional information such as a menu code, description for the template, sell price or subheadings
- Click to Allow menu creation from the template. This setting will default to yes
- Allow the template to be Visible to all units. This setting will default to no
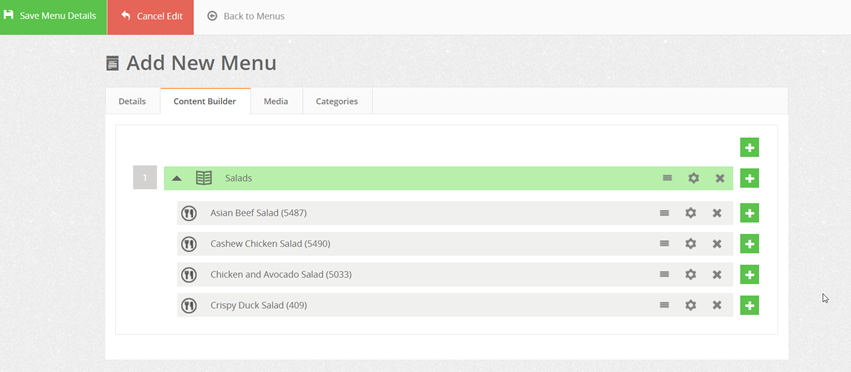
- Start building your menu within the Content Builder tab. Please note that any sections and menu items added here will be fixed and cannot be edited by a site level user:
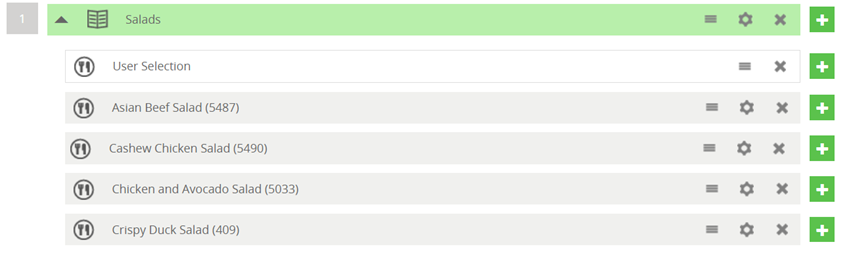
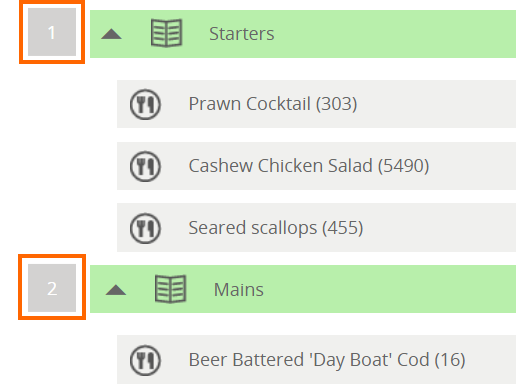
To insert a customisable line into the menu add a new menu row using the + icon (1). Click the drop down to the left of the new row (2) and select ‘User Selection’ (3). This option allows a site user to select any menu item that is allocated to a brand unit they have access to:

Add as many user selection lines and ‘fixed’ menu items to your template as required.
- If you wish to restrict options further, choose ‘User Selection – List’. This will allow you to add a list of dishes from which your site users may choose one item from.
Type in the name of the dish and the search function will automatically find it, just like building a usual menu
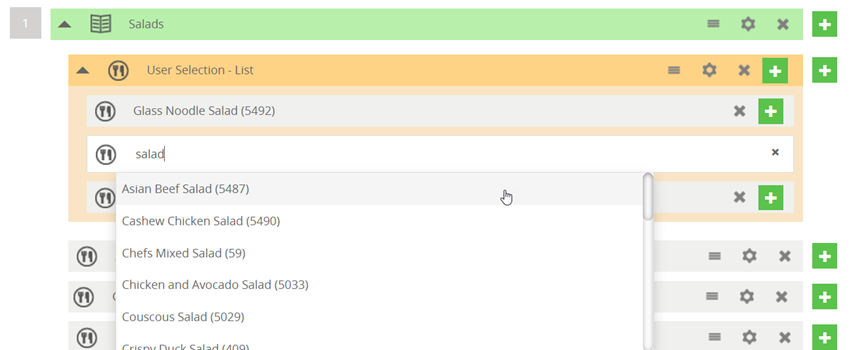
Once you have finished adding menu items to the list, click the green ‘+’ outside of the ‘User Selection – List’ to continue adding to the menu.
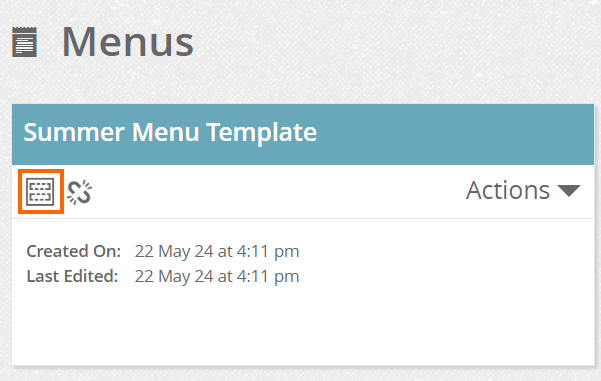
- The new fixed template menu will be displayed on the menu home page and identified by the naming convention (if applicable) with the template icon underneath the name:
Assigning A Template To Brand Units
Make the menu template available to the relevant brand units. Click the drop down ‘Actions’ arrow and ‘Assign Brands’.
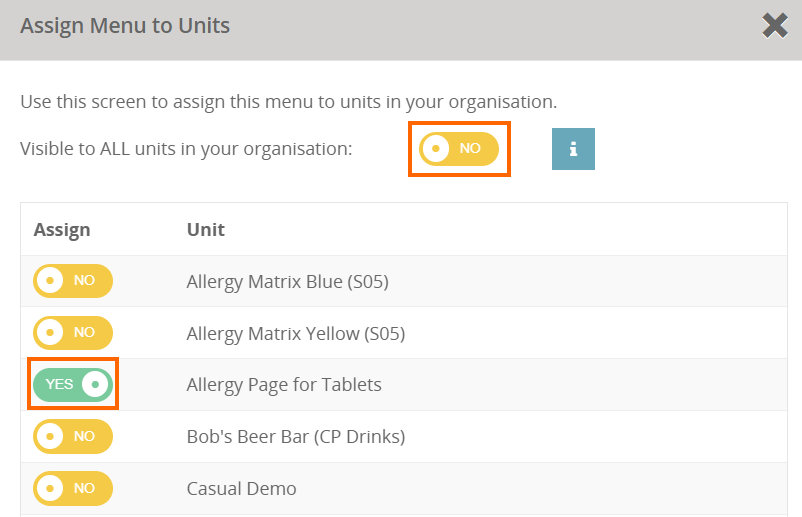
Toggle to ‘Yes’ for the brands you would like to link your menu to individually. Alternatively, you can make your menu visible to all units by setting the ‘ALL units’ toggle to ‘Yes’:
If your organisation has a lot of brand units and you require the template to be available to most of them, scroll to the bottom and click ‘select all’. You can then deselect the units that should not be able to see the new menu template:
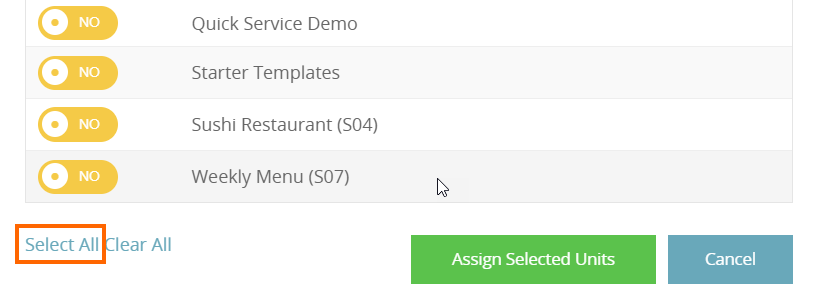
When you are happy with your selection click ‘Assign Selected Units’ to save your changes. The relevant brand units will now be able to view the newly assigned menu when they log in and go to the ‘Menu’ home page.
Please note: If your sites have access to edit menus but you wish to create a menu that is completely locked (such as a set festive menu) you can use the fixed content template instead.
Using a Fixed Content Menu Template
If the template includes user selection rows, the relevant brand units will now be able to create a new menu using this template by clicking Menu > Add New Menu > and selecting the template from the drop-down menu:
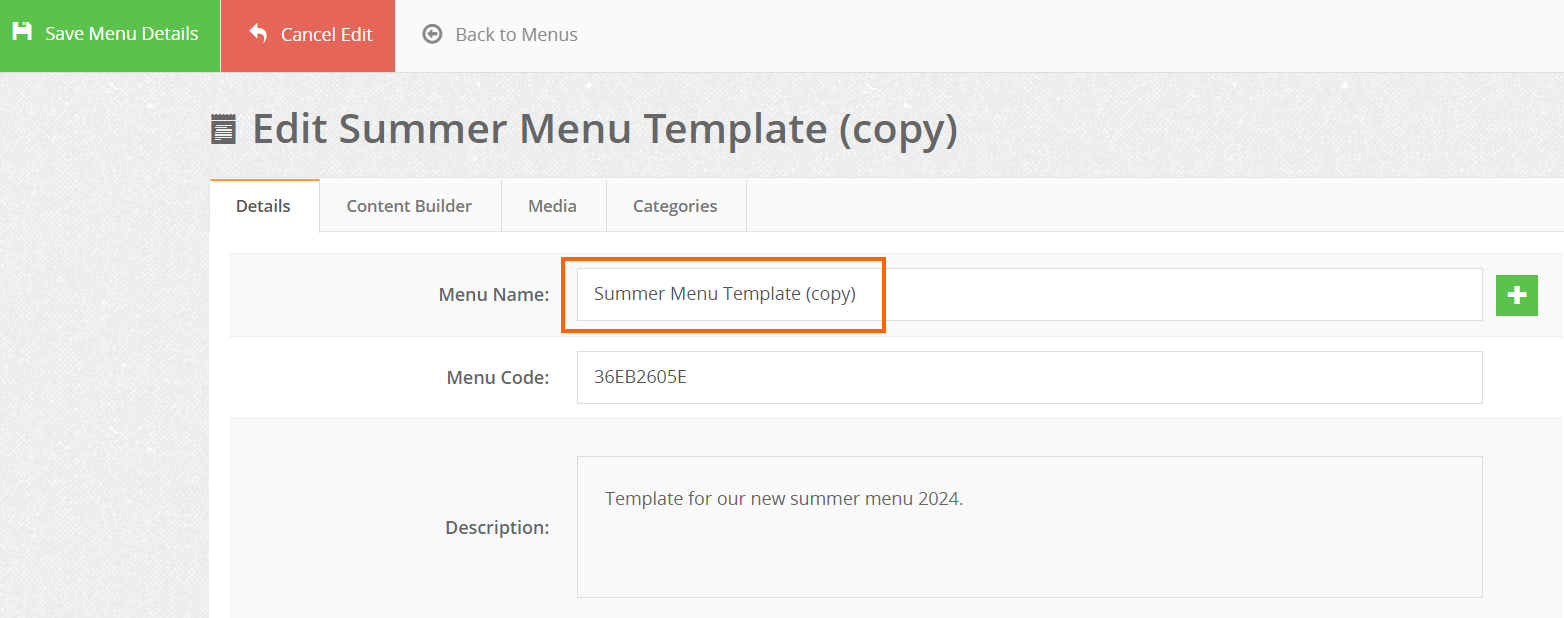
Once chosen, the name will automatically be populated as ‘Template Name (copy)’ to encourage renaming by the brand unit that is editing it:
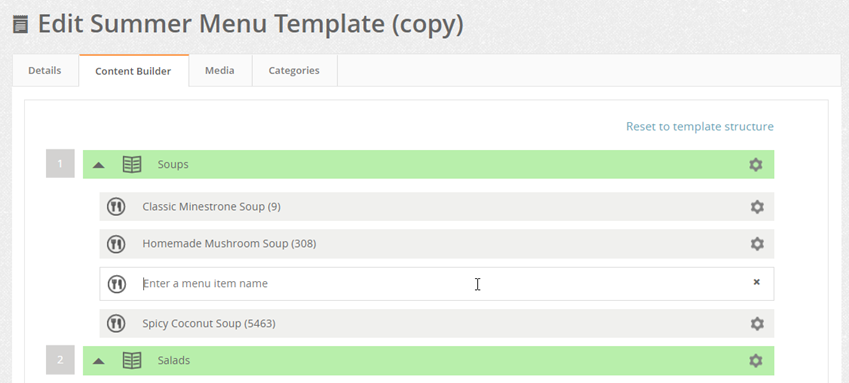
Within the content builder the site user can choose a dish for the ‘User Selection’ row by typing the name of the dish as normal. On the right-hand side, there are no ‘+’ options to add further rows or change/delete the existing menu items:
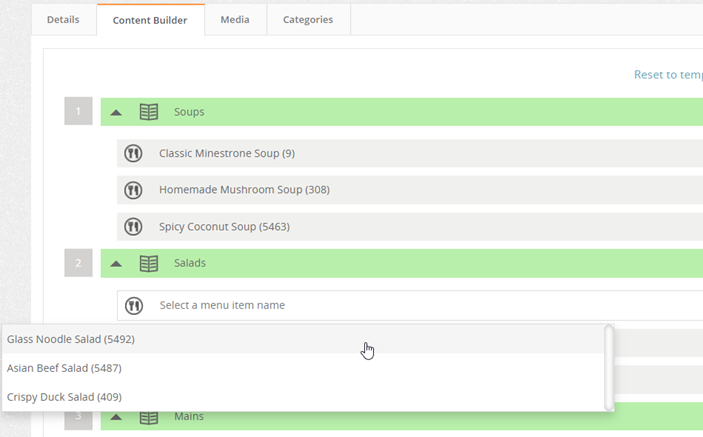
When you click into the ‘User Selection – List’ row, you do not get an option to type a menu item name as the available options (4 in this example) appear and only one can be chosen
Once a menu item has been selected it can be changed for one of the other available choices by clicking on the ‘X’ to the right of it (unlike the other rows in this section) which will open the row again

Once the menu is built and saved, it can be published in the normal way.
Creating a Flexible Content Menu Template
This template can be used in conjunction with the Ten Kites Print module to support a pre-defined print layout. If site users do not have access to the Print module, we would recommend that menus of this type are created/edited by central users who have visibility of company print layouts.
- From the home page navigation bar on the left side of your screen, select the ‘Menu’ icon.
- Click to ‘Add New Menu’ in the top bar and select ‘Template (flexible content)’:
- Input a name for the new template. This name will be passed on when a site level user uses your menu template to create their own site-specific standard menu. We recommend using ‘Template’ in the name to differentiate from other menus:
- Input additional information such as a menu code, description for the template, sell price or subheadings
- Click to Allow menu creation from the template. This setting will default to yes
- Allow the template to be Visible to all units. This setting will default to no
- Start building your menu within the Content Builder tab.
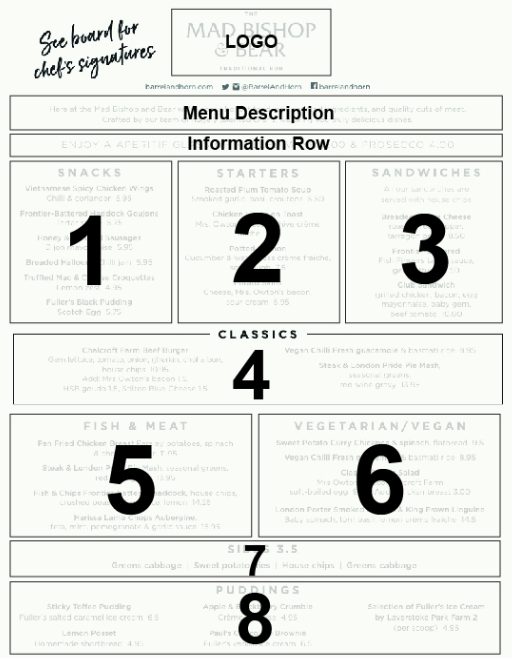
Each section created will automatically be labeled with a section number:
These numbers directly correlate to sections within the organisation’s chosen print layout, an example of which is below:
- When you are happy with the menu template you can save it and assign it to a print layout, making any amendments if required. You can also publish to the brand unit(s) for web outputs or create a copy of the menu.
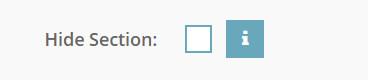
- Site users will be able to add further sections, menu items, info rows, etc. to their copy of the menu. However, only the number of sections built into the print layout will show on the printed version. If 10 sections are created, 2 can be hidden (temporarily or otherwise) by clicking on the ‘cog’ icon of each relevant section and ticking the ‘Hide Section’ box within the ‘Details’ tab:
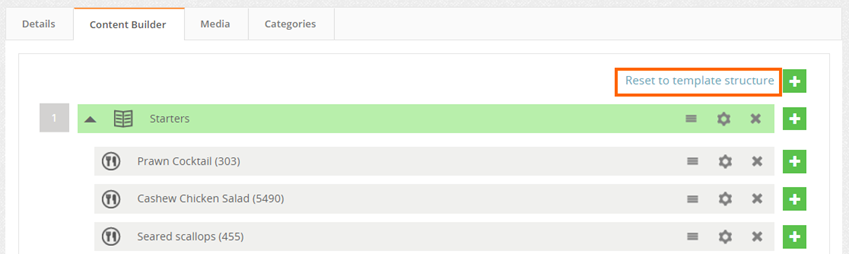
- Any amended copies of the template can be reset back to the original sections of the template by clicking on the setting shown below.
NB: Any menu items, info rows, BYO’s subsequently added to original sections of the template will remain- only additional sections and their contents will be removed
Creating a Fixed with Variable Sections Menu Template
This template type combines functionality of both the fixed and flexible types. It can be summarised as below:
- Click to ‘Add New Menu’ in the top bar and select ‘Template (fixed with variable sections)’
- Input a name for the new template and additional information such as a menu code, description for the template, sell price or subheadings
- Click to Allow menu creation from the template. This setting will default to yes. Allow the template to be Visible to all units. This setting will default to no
- Start building your menu within the Content Builder tab.
- Each section will be numbered to align with predefined print template types, if used
- Users can hide a section and rename a section but cannot add, delete or move a section
- Standard menu items will be fixed and cannot be edited by a site user. Users cannot drag and drop menu items to different positions
- User Selection and User Selection Lists can be added. A site user can edit these in the same way as for a fixed template
- Users can edit an info row but cannot add or delete one
- Users cannot edit BYO’s other than choose user selection items or user selection lists if added to a BYO
- Users can reset any changes back to the template structure
When you create a new menu from a template via Menus > Add New Menu > Select a template, the type will always be set as ‘Standard’ and the name of the original template menu will be logged in the details screen.
When you create a new menu from a template via Menus > Select template menu > Copy Menu, the type will be copied (flexible or fixed content) and the name of the original template menu will be logged in the details screen.
Menu templates can only be deleted if they are not currently published to any outputs or have no ‘standard’ menus created from them. Menu templates that have ‘copied’ menus created from them can be deleted, but must not be published to any output at the point you wish to delete.