The media manager module is your library to securely store all the images, videos, icons and documents for use in menus, recipe books and more.
Videos and/or images can be used in a number of places in the system. They can be added to Menus, Menu Items, Brand Units and Dietary Labels.
Accessing the Media Manager
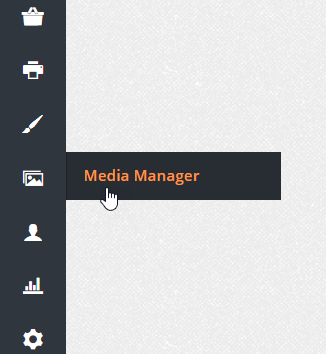
From the home page navigation bar on the left side of your screen, select the Media Manager ‘picture’ icon:
You will see the home screen of the media manager module, within the module, the below folders are available as default to sort and store your media.

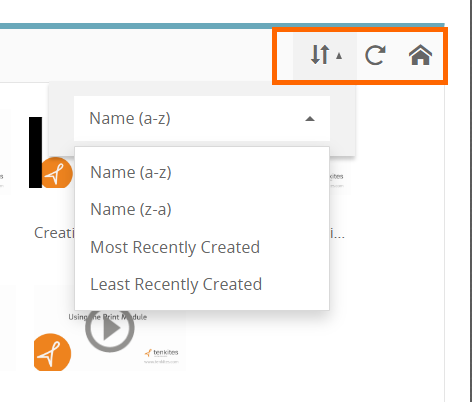
From the top right corner within any of the folders, you can:
- Filter files by name or the order in which they were created
- Refresh the page
- Return to the homepage of the media manager
To view, edit or add content, select a folder on the media manager homepage.
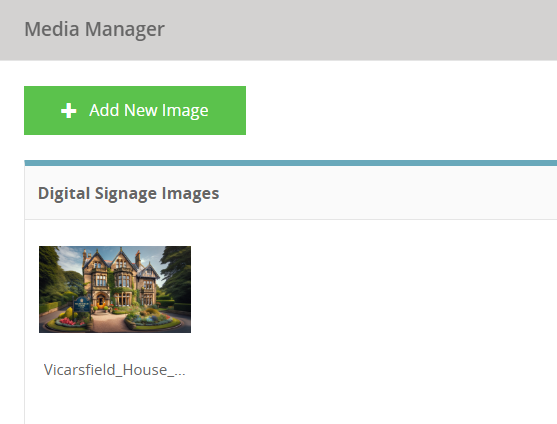
Adding Images to the Media Manager
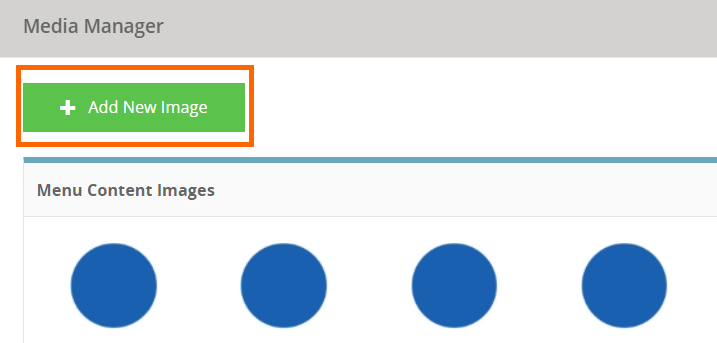
To add a new dietary label icon, logo, menu item/content or print image, select the ‘+ Add New Image’ button in the top left of the folder screen
From here you can drag and drop or select a file for upload and preview before returning to the folder homepage.
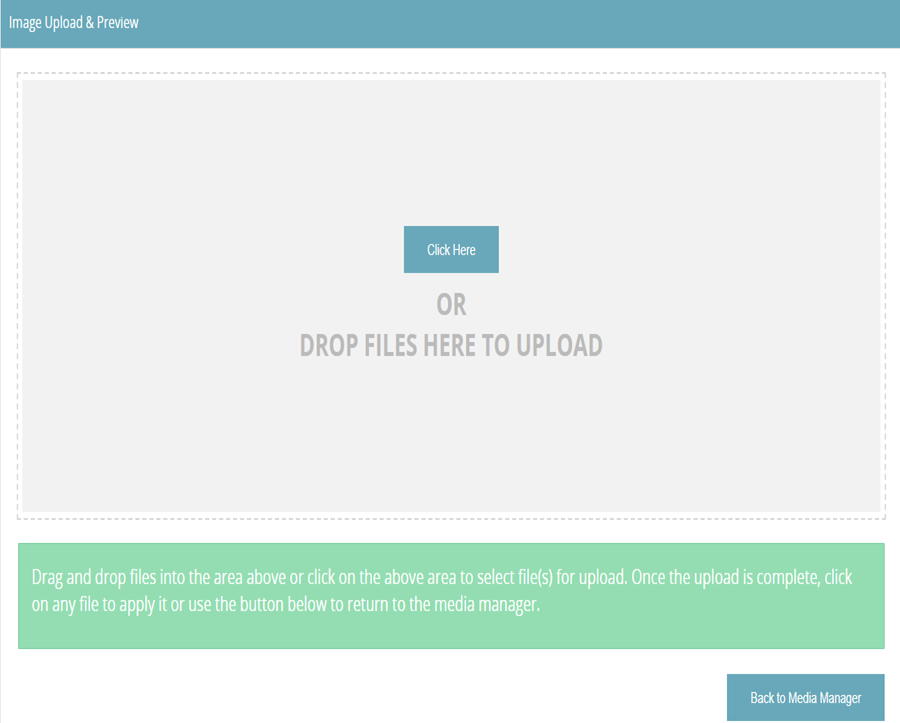
You will see the image upload when dropped or selected to be added to the folder
Document Sizes
Ten Kites can store different image sizes, for different display types and will proportionally resize the logo image to fit the screen width depending on what the image is used for, for example a header image for the web output. Refer below for a summary of suitable file type and sizes in Ten Kites:
- Dietary Label: jpg, jpeg, png, gif, max size: 30 kB
- Image: jpg, jpeg, png, gif, max size: 5 MB
- Video, mpeg, mp4, avi, mpg, wmv, max size: 100 MB
- Document, pdf, doc, docx, xls, xlsx, csv, max size: 5 MB
For banner images, the following dimensions are normally used, however please check these apply to a specific menu web template:
- Mobile: 768px wide
- Tablet: 992px wide
- Desktop: 1025px wide
Pro tip: If the image is bigger than above, the system will show the middle of the image, fitting the space available.
Adding Videos to the Media Manager
The process of adding videos to the Media Manager is similar to that of the process for adding images.
You can add a new video or an external link ( from YouTube or Vimeo only), such as instructional content for your recipe cards, by clicking on one of the below buttons within the ‘Menu Content Video’ folder.

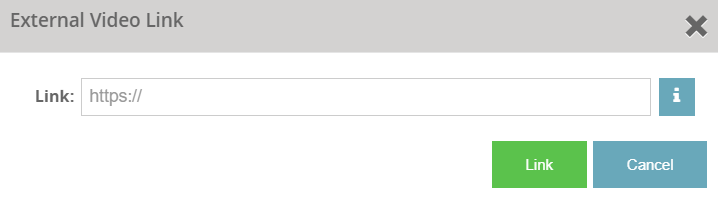
If adding a link to an external video, enter the URL in the box and click the ‘Link’ button to save:
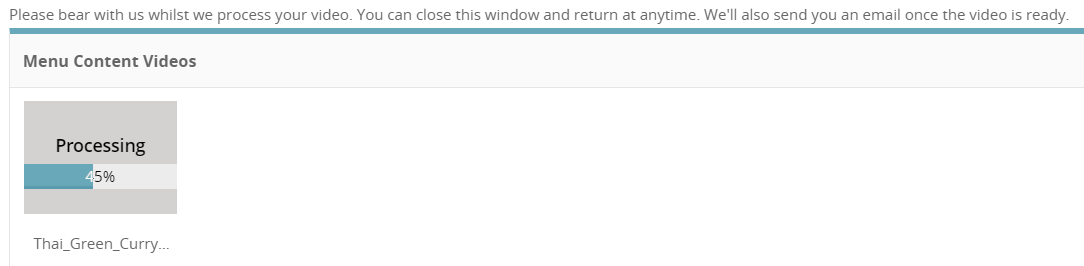
Uploaded videos are processed by the system to enable the viewer to stream the content and not require them to download to their browser.
The below message will be displayed until the encoding process is complete and an email will be sent to the login email of the user who uploaded the video to confirm completion
As with all other files, you can also preview video files and play them from within this module before selecting them for use.
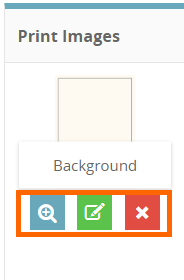
By hovering over any uploaded file, you get the option to:
- Preview (blue magnifying glass)
- Rename (green pencil)
- Delete (red X box)
Pro tip: you are unable to delete a file that is in use and the red ‘X’ box will be greyed out
Using Uploaded Images and Videos in the system
To add media manager files to a Menu
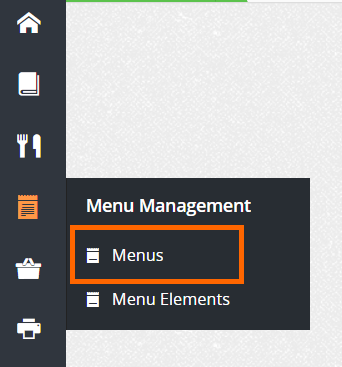
- Go to Menus:
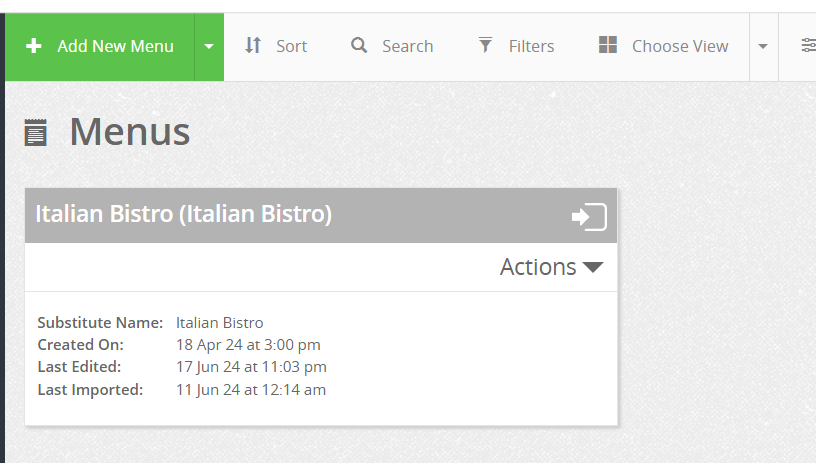
- Select a menu and open it:
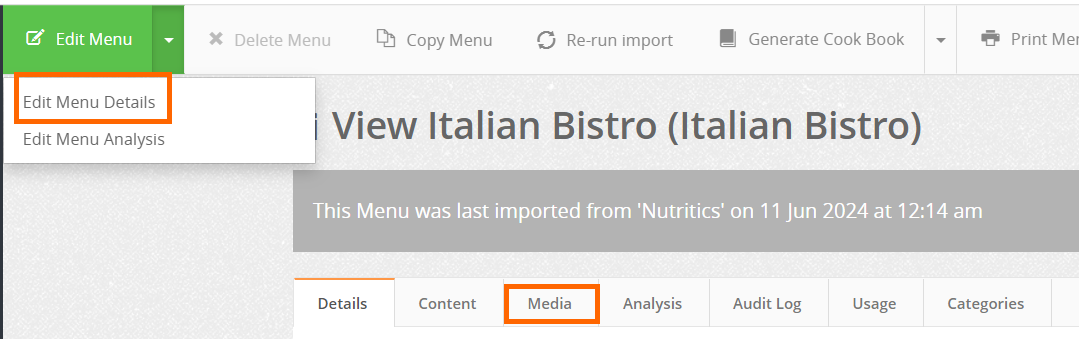
- Click on ‘Edit Menu’ and open the Media Tab:
- From here you can choose to ‘Upload New Image/Video’ or ‘Choose Document’
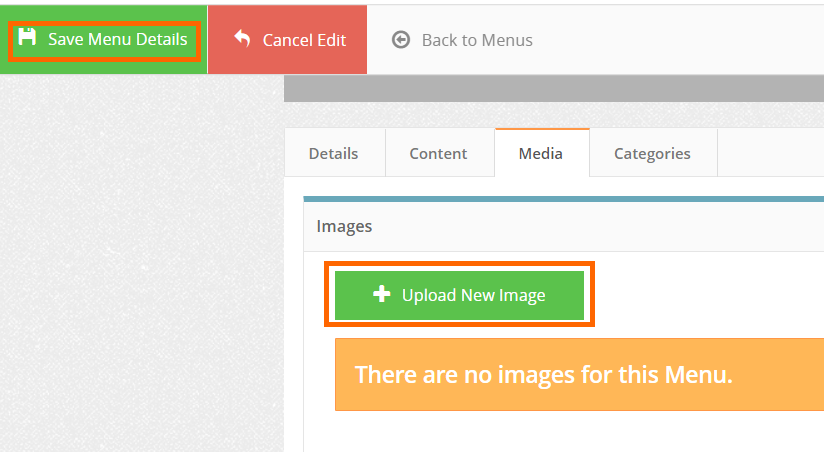
- Once you have uploaded your media click on ‘Save Menu Details ’ in top left of screen when finished.