The digital signage template can be used to display menu items to your guests. This template can be easily configured to make edits for different brand units. You can see our guide on using the theming tool here, which goes into more details on the different styling options available.
- Login to Ten Kites via www.manage.tenkites.com:
- Enter your login credentials and click ‘Log In’
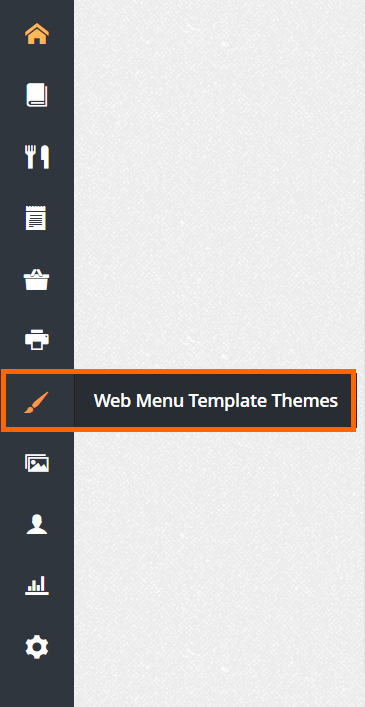
- From the home page navigation bar on the left side of your screen, select the paintbrush icon and open ‘Web Menu Template Themes’:
- Click ‘+Create New Theme’ and choose the Standard Digital Signage theme
The selected template must be assigned to a unit and have a menu published to it. If you need to check this, you can do so by following the following steps:
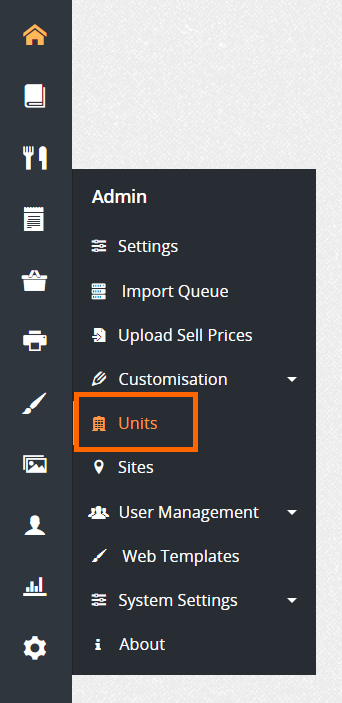
- Open the Admin panel and click ‘Units’:
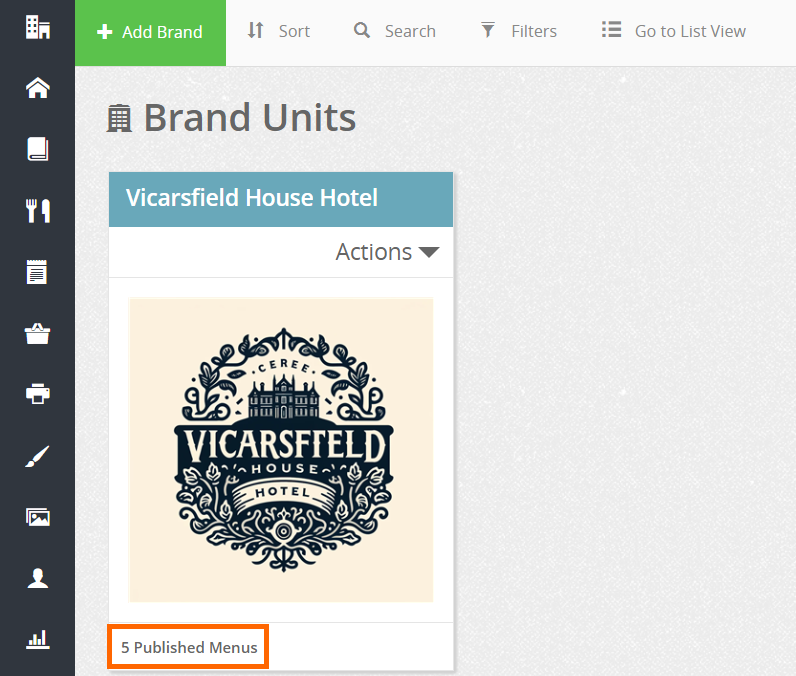
- Select a Unit with Published Menus:
- Navigate to the ‘Output Settings’ tab under the Unit Settings to check what templates have been assigned to the unit:

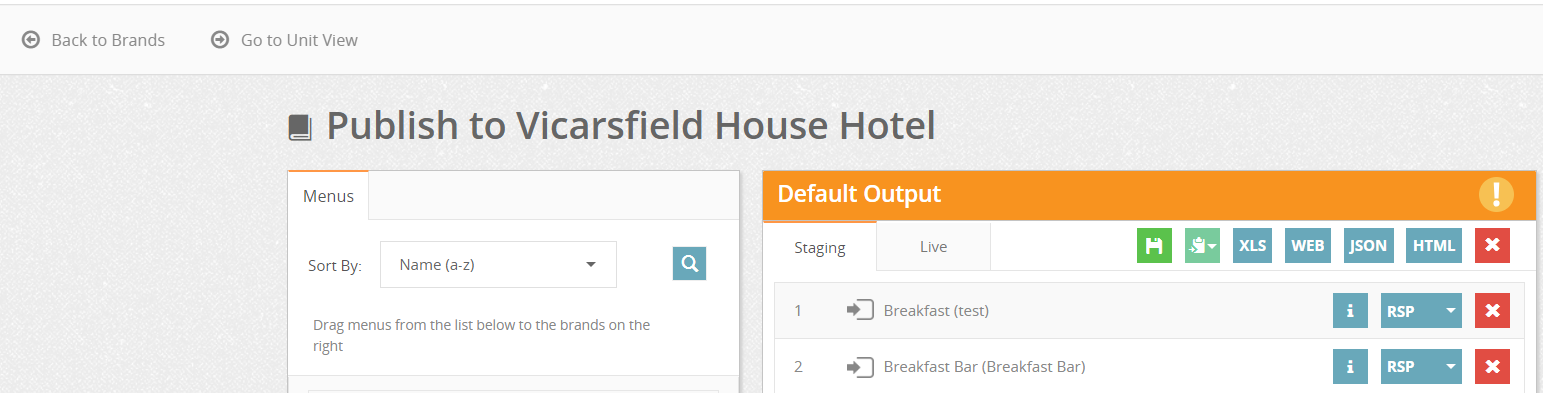
- Click ‘Go to Publish’ to check which menus have been published using the respective templates:
Back to creating a Digital Signage Template:
- After choosing a unit and an output you can make changes to the overall theme. Please see our guide here on the different styling options available in this tool
- Once you are happy with the style of the theme it is ready to be applied to a menu
- Further changes can be made by your brand units to suit individual needs
Using Configure Mode
If available, ‘Configure Mode’ will show in the top toolbar of the Unit, accessed from the Publish screen.
The following settings are available in ‘Configure Output’ popup for Standard Digital Signage web template:
- Menu: Enter the partial menu name or leave empty if you would like to show the menu ‘active’ at the time of digital signage loading
- Section: Text entry where you can specify the section of the menu on show. If the ‘Section’ field is left empty it will cycle through all sections of the menu that qualify for display.
- Section Logo: Upload an image for the Section logo. This can be shown instead of a section name at the top of the screen.
- Number of Items: The number of menu items shown per page.
- Number of Columns: Number of menu item columns (only 1 and 2 are currently supported).
- Slider Speed (ms): Speed of slide change.
- Fading Speed (ms): Speed of fading effect.
- Fading Delay (ms): Controls the delay between screens when the Fading Effect toggle is set to ‘Yes’.
- Banner Alignment: This setting controls the position of the Banner image.
- Vertical Alignment: Alignment of Menu Items. This only affects the ‘body’ of the section.
- Show Full Nutrition: If this toggle is set to ‘Yes’ all nutrients enabled in the Unit are shown for menu items. If set to ‘No’ only primary calorie values are shown per menu item.
- Show Slider Dots: Show/hide the dots at the bottom of the screen showing the number of pages.
- Fading Effect: Enable/disable fading effect.
- Show Full BYO: When this toggle is set to ‘Yes’ the full BYO is shown. If set to ‘No’ only the BYO level information is shown (BYO Name, Description, Sell Price).
- Banner Image: When uploaded the banner image is shown to the left or right side as selected in ‘Banner Alignment’ setting.