The Ten Kites Print module enables you to design multiple print layouts that can be printed centrally or on-site. A single menu layout can be used for one or multiple brand units with the name, logo, etc. of each brand unit automatically applied to the template at the point of selecting for print.
- Go to URL https://manage.tenkites.com
- Enter your Email address and Password > Log In

- From the home page navigation bar on the left side of your screen, select the ‘Print’ module:

- Select ‘Menu Layouts’:

From the Menu Layout screen, you can:
- Create a new menu layout,
- Toggle to ‘List View’ to view layouts per row,
- Move back to the ‘Print Types’ page, or
- Select one of the existing Menu Layouts (a blue border is a manually created Layout, a grey border is a predefined Ten Kites Layout that’s been designed by Ten Kites to your specification)

CREATING A NEW MENU LAYOUT
Click ‘+Create New Menu Layout’ in the top left corner and select a blank or predefined template:
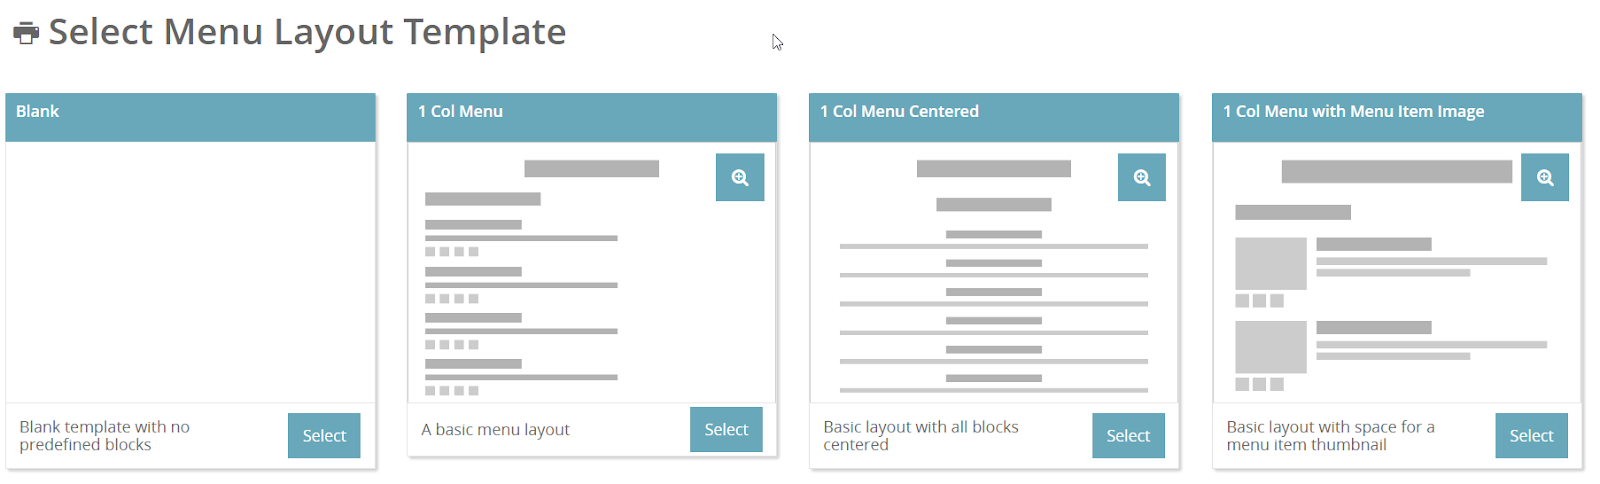
From the template page you can:
- Save the layout and exit the page or continue editing
- Cancel the template and return to the Menu Layout screen
- Save the Layout and generate a PDF copy
- Reset Layout back to the template, discarding any changes
- Return to the Menu Layout screen
- Give the new Menu Layout a name
The template format is divided into 7 areas that can be individually customised to suit your branding.. As highlighted below, you can also customise sub sections, BYO and Sub BYO’s:
You can choose to display all sections or hide those not required by hovering over a section and clicking the ‘eye’ icon:

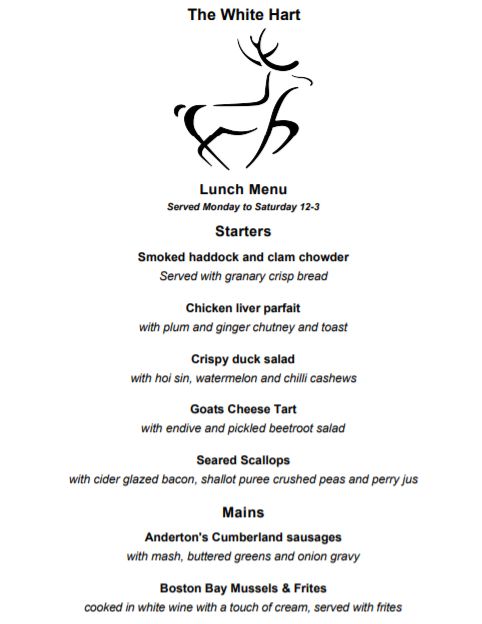
Here is an example of a simple, single column template and to the right, how the printed version would look:

And here is an example of a more complex printed menu with multiple columns, info rows, disclaimer in the footer, etc:

There are 2 main elements to the design of the template:
- The blocks (type) of content within each area of your menu, which can be any of the
following:
- Text
- Image
- Divider
- Dietary Labels
- Nutrients
- Date/Time
- The style of your overall Menu Layout pages(s), including:
- Column Configuration
- Page Size
- Orientation
- Background Colour
- Background Image
- Page Margins
- Pagination
The style of each area can then be further customised by background colour, margin, padding and border for full flexibility over the design of your printed menus simply by clicking on a particular area and these options will become visible within the style tab.
Pro tip: When creating a Menu Layout, start from the top of the template with the Page Header (if using). This can be utilised for the brand unit name and/or logo, amongst other options.
Each area displays a text box by default. You cannot delete this but, if not required, you can hide using the ‘eye’ icon.
To add text, click within the ‘text’ box and you will see a Content tab is now displayed and it is from here you can edit the text box:

Header Value: Selecting one of the options from the dropdown menu will insert the content of the field of the same name from the Brand Unit (Admin > Units > Select Brand Unit > Output Customisation). Use an additional text block for each of the values if you wish to display more than one.
Custom Text: Free type the wording for this text box
Once you have decided on your text, you can format using the following style options: –
- Bold, under-lined and capitalized
- Background colour
- Font colour
- Alignment
- Padding
- Border
Adding Blocks to the Menu Layout
You can add multiple blocks to any area of the Menu Layout by simply dragging and dropping to the required position:
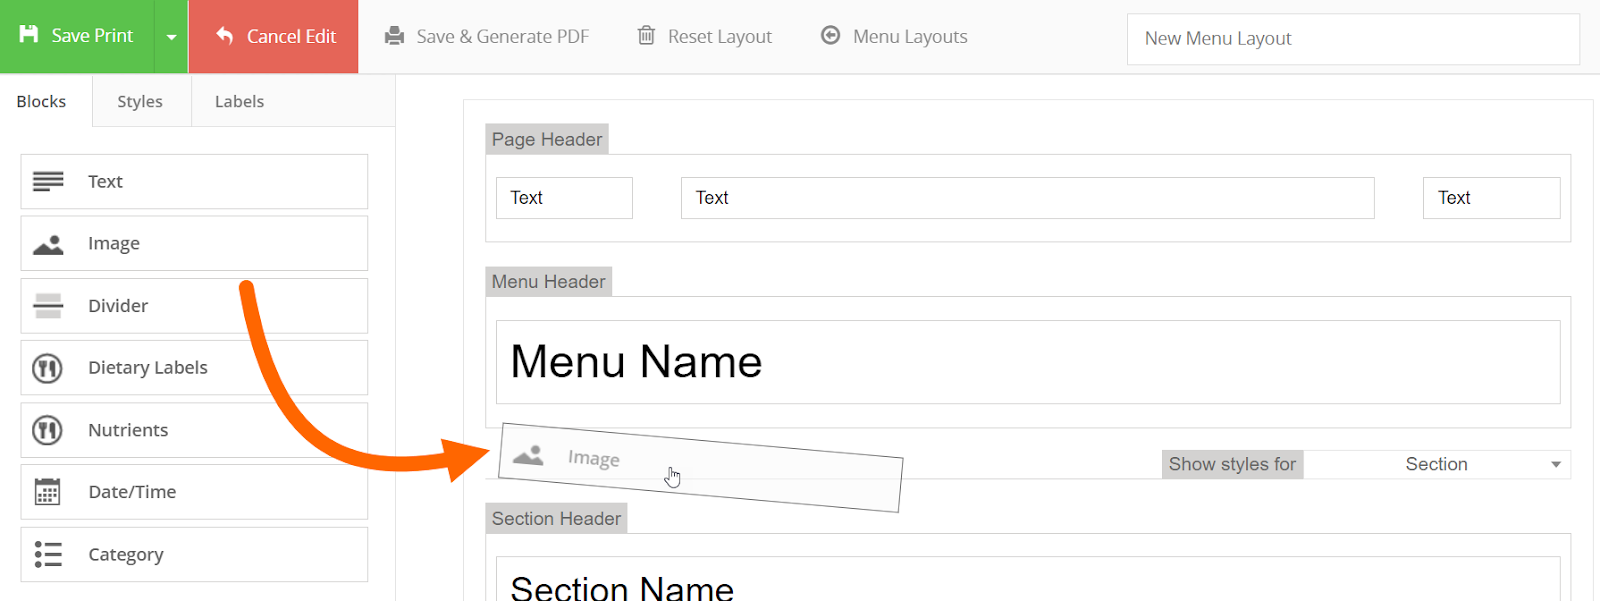
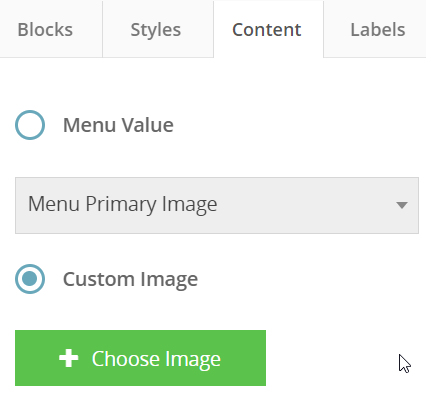
To upload an image, drag and drop the Image block to the desired location > click on the placed Image block > from the Content tab select either:
Header Value: The available values will change depending on which area of the Layout you are editing and for the Page Header field, for example, this will insert the Unit Logo from the Output Customisation tab of the Brand Unit
Custom Image: You can upload a new image via the Ten Kites Media Manager if needed:
Divider: Insert lines at any point on the Menu Layout to highlight or differentiate between sections
Dietary Labels: Choose to display all enabled or just primary dietary labels to the ‘Menu Item’ area
Nutrients: Choose to display all enabled or just primary nutrient names and values to the ‘Menu Item’ area
Date/Time: Is automatically applied in your chosen date/month/year format when the PDF print menu is generated and cannot be edited
Additional Functionality Explained
To further enhance the Menu Layout, there is additional functionality relevant to the nature of the information displayed in certain areas, explained below.
Menu Header
Style > Show on All Pages: Your chosen menu header can be displayed on the front page only or on all pages of your menu
Text Box > Content > Menu Value: As with Page Header, you can add a predefined value for all sites or free type the wording. To include the menu name and description (Menus > Select Menu > Details: Menu Name, Menu Description) display 2 text blocks, with a menu value assigned to each

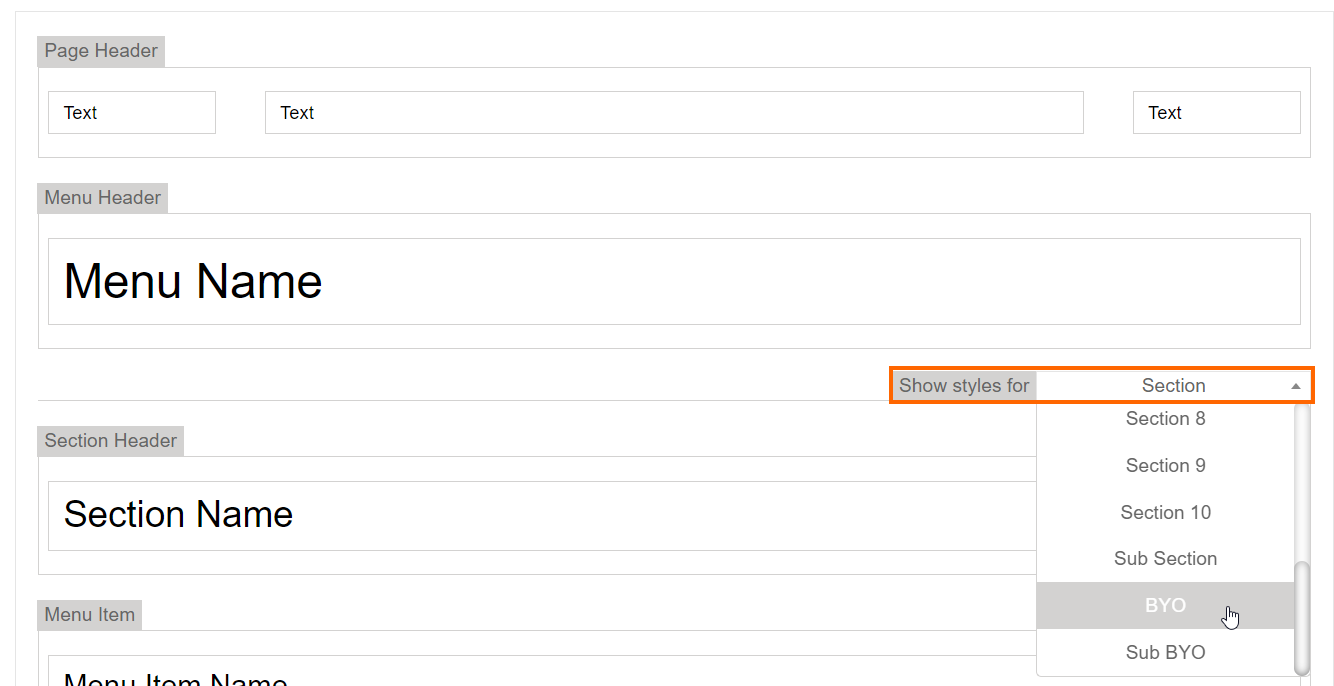
Section Header
Show Styles for: This area will default to your menu ‘Section’ and you can easily toggle to Sub Sections, BYO’s and Sub BYO’s to design the content and style of each

NB: if you make changes to the menu ‘Section’ content, for example, and immediately toggle to ‘Sub Section’, your changes will be retained within ‘Section’ but must be saved using the ‘Save Print’ or ‘Save and generate PDF’ buttons before navigating away from the Menu Layout screen to avoid losing your amendments.
Style > Show on All Pages: The chosen Section/Sub Section/BYO/Sub BYO headers can be displayed only on the page where that section begins or at the top of all subsequent pages where that menu group continues
Style > Keep Together: Choose to keep all the content of a Section/Sub Section/BYO/Sub BYO on one page or let the menu items flow across 2 or more pages
Text Box > Content > Section Value: Add the name and/or description of your Section/Sub Section/BYO/Sub BYO
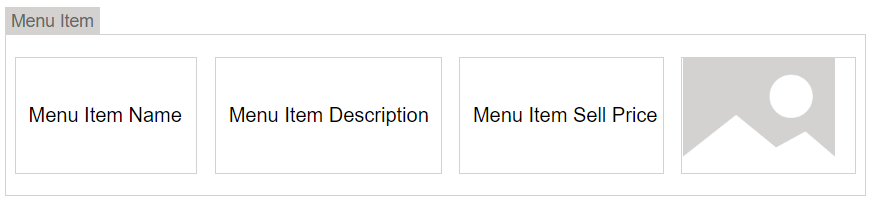
Menu Item Header
Text Box> Content> Section Value: Add the name, description, sell price and ingredient list of your menu items using a separate text block for each value
Info Row
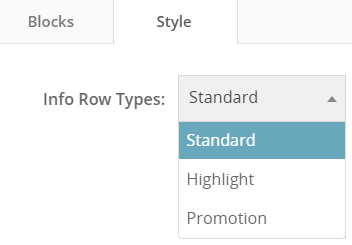
Style> Info Row Type: – You can select the Info Row Type when you add an info row to your menu in the Menu module and this setting in the Print Module is where you can determine how each of the types will appear on your printed Layouts. Each has a default style but all can be edited and customized as required:-
- Standard: Default text only
- Highlight: Default with border
- Promotion: Default with coloured background
Text Box> Content> Info Value: Add the info row name, description, sub-heading 1 and sub-heading 2 of your info rows using a separate text block for each
Section Footer
Text Box> Content> Free type option only
Page Footer
Text Box> Content> Footer Value: Selecting one of the options from the dropdown menu will insert the content of the field of the same name from the Brand Unit (Admin> Units> Select Brand Unit> Output Customisation). Use an additional text block for each of the values if you wish to display more than one.

When adding new blocks to an area of the Menu Layout, you can drag and drop above, below and to either side of existing blocks, such as the example below, with a maximum of 4 blocks being added to a single row
When 2 or more blocks are placed next to each other an additional formatting option will appear at the bottom of the ‘Style’ tab, called ‘Row’ and from here you can choose one of the following modes: –
- Flow: this mode will start the content of each column where the previous column naturally ends
- Table: this mode will wrap the content of each column to evenly distribute the size of each block within the row
MENU LAYOUT PERMISSIONS
System administrators will be granted access to the Print module by the Ten Kites team.
Admin users can provide access to create, edit, copy or delete Print Layouts (usually restricted to central users only) by going to Admin > User Management > Users > select User > Edit User > Details tab > Manage Print Layouts > Allow > Save User
Site Users who have access to menus will automatically be able to print menus once the Print module is enabled
NB: It is worth noting that all users can see all Layouts regardless of permissions/access level but will only see the brand units assigned to them.
PRINTING MENUS
Select the Print module > Select Print Type: Menu Layouts > select a Layout
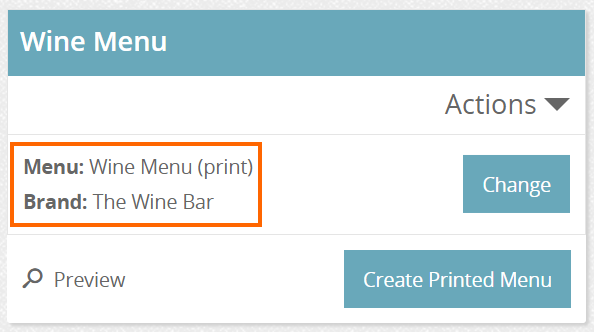
Change the Menu and Brand Unit of the required Layout if not already correctly selected and then preview or print the menu. If you only have access to one Brand Unit then the Layouts will default to that Brand Unit:
Admin users can also edit, copy or delete a Layout from the ‘Actions’ dropdown menu for blue (manually created) Layouts:
